>
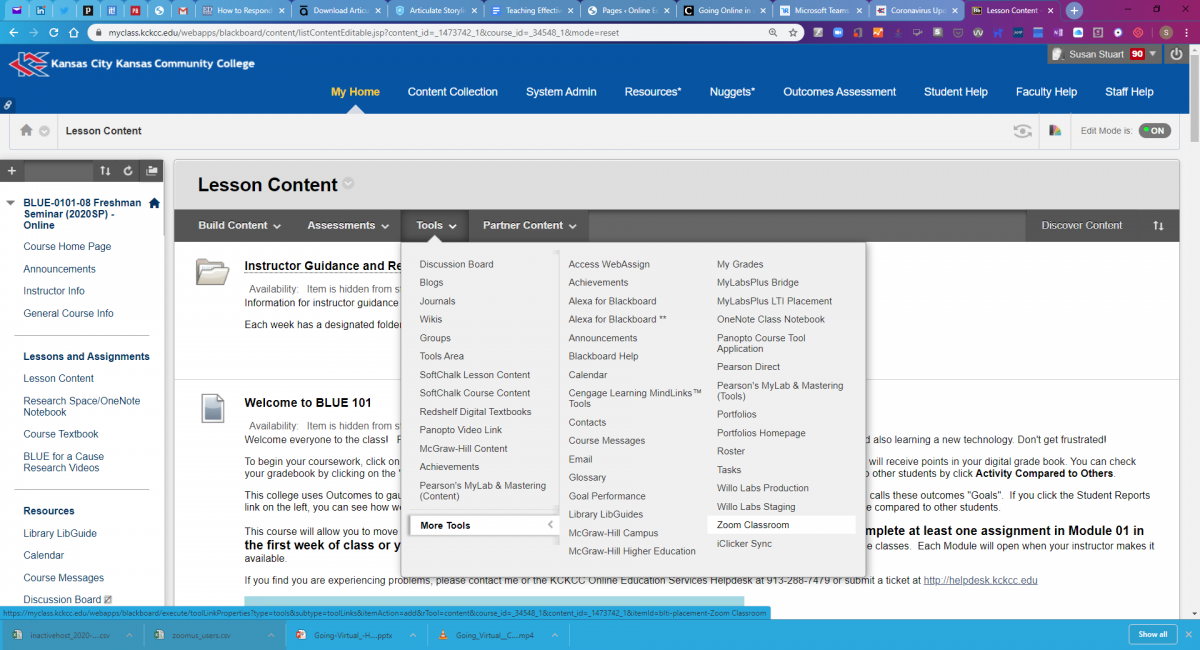
There are two ways to do easily add Zoom to your Blackboard course. One is adding it as a tool in any content area. See graphic. This lets you schedule and launch too. It works extremely well. You can even grade based upon attendance.
The other is as a menu item. Click the + sign in the course menu. Click Tool Link.
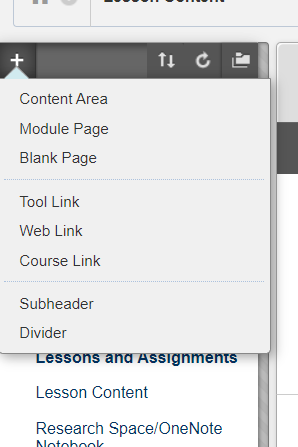
Select Zoom Classroom from the Tools Link. Give it a name. Click Available to Users. Click Submit.

Both of these will let you schedule a meeting in in advance. You can either use your personal meeting ID or it will generate a new one. (OES recommends using your personal ID for ease of use). You can provide the personal ID for students who are joining with an App. They simply enter that 10 digit ID and join.
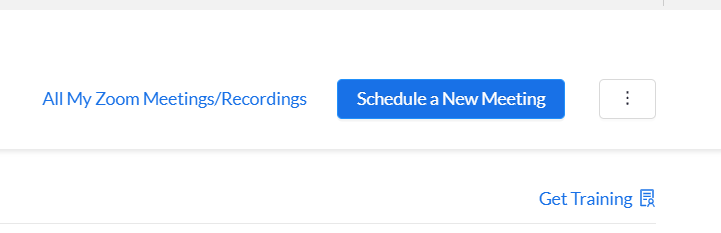
To schedule the meeting, click the Zoom Meeting link in your course. The application will load the meeting scheduler. Click Schedule Meeting.
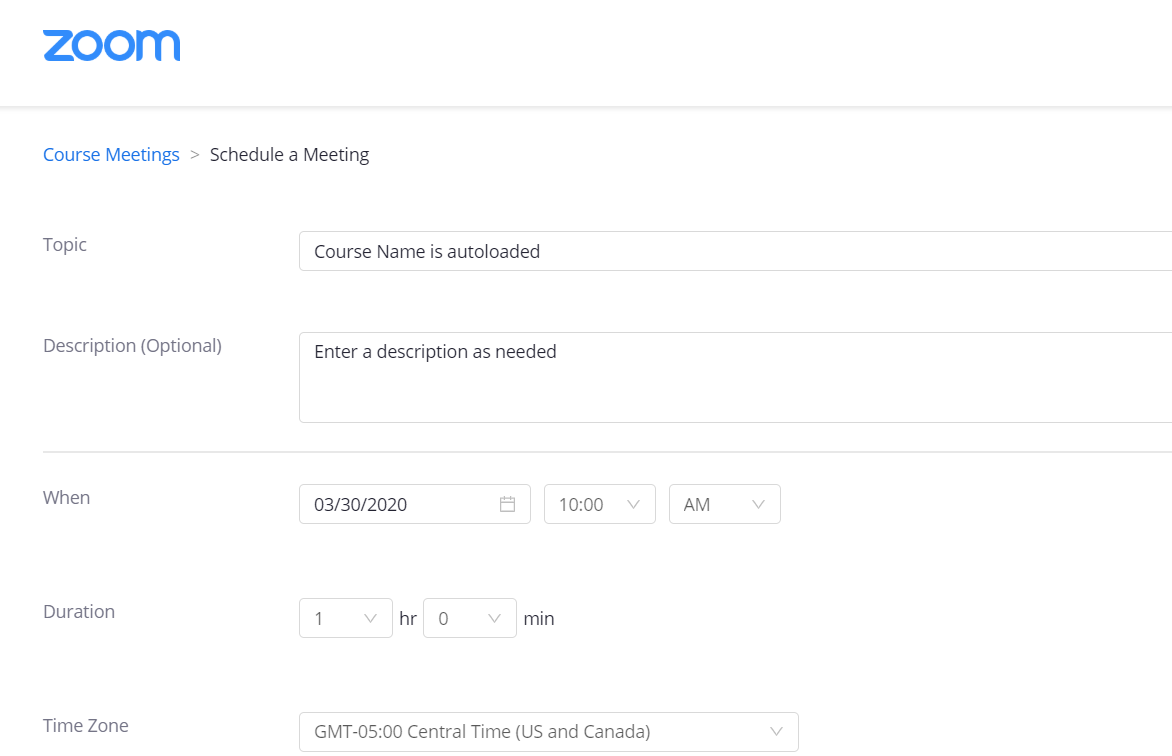
Fill in the relevant information for title, date, time, and instructions for students. Then scroll to the bottom of the screen and click Save.
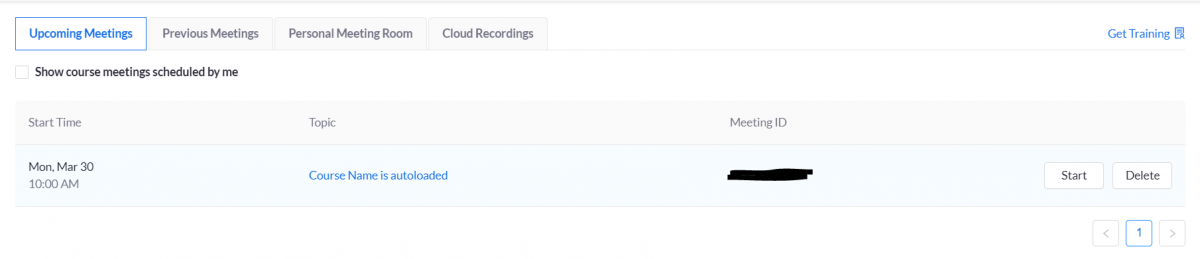
The Schedule session will appear in your Upcoming Meetings.
If students are joining from the class menu, they simply click the Zoom Meeting link and the upcoming meetings will display. They will need to click the Join button to be added. It will prompt them to download the Zoom App.

If you want to have students who can’t attend view it later, click Record and chose Save Recording to Cloud. Saving the Recording to the cloud, will automatically pull the video into Panopto. You can add the Panopto video as a Content Item by selecting it from the Build Content menu and selecting the Embed Panopto Video.